Selling your home is a thrilling step toward new opportunities, but it’s also filled with important decisions. One of the most powerful yet often overlooked strategies is completing a pre-listing inspection. You might wonder why this step matters if the buyer will conduct their own inspection during the contingency period.
The truth is, when you know exactly what’s going on with your home before you list it, you gain a strategic advantage. A pre-listing inspection helps uncover hidden issues early, builds trust with prospective buyers, and can even speed up the entire selling process.
Instead of scrambling to fix problems once you're under contract, a pre-listing inspection puts you in the driver’s seat. It gives you focus, control, and confidence — three things every seller needs. If you’re serious about presenting your home in the best light and attracting serious offers, this is one step you shouldn’t skip.
What a Pre-Listing Inspection Covers
During the inspection, the inspector will evaluate the home’s structure, systems, and overall condition, providing a full report of any potential issues.
Here’s what most pre-listing inspections cover:
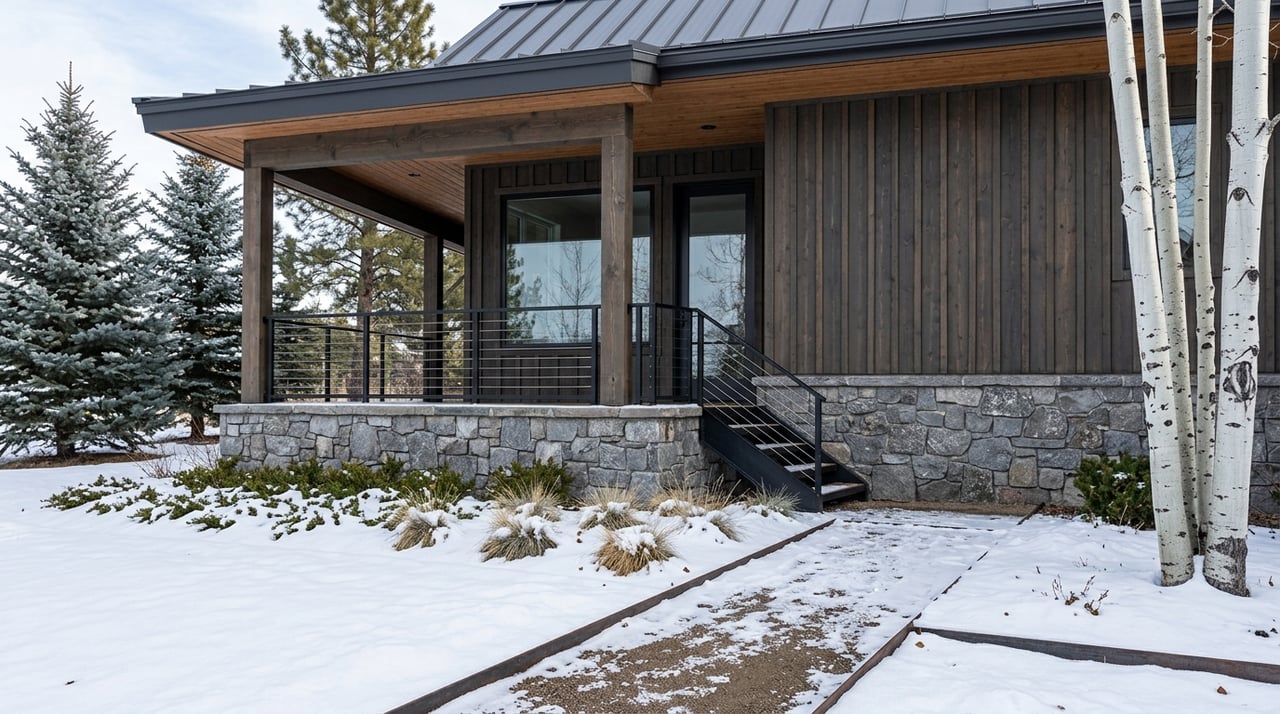
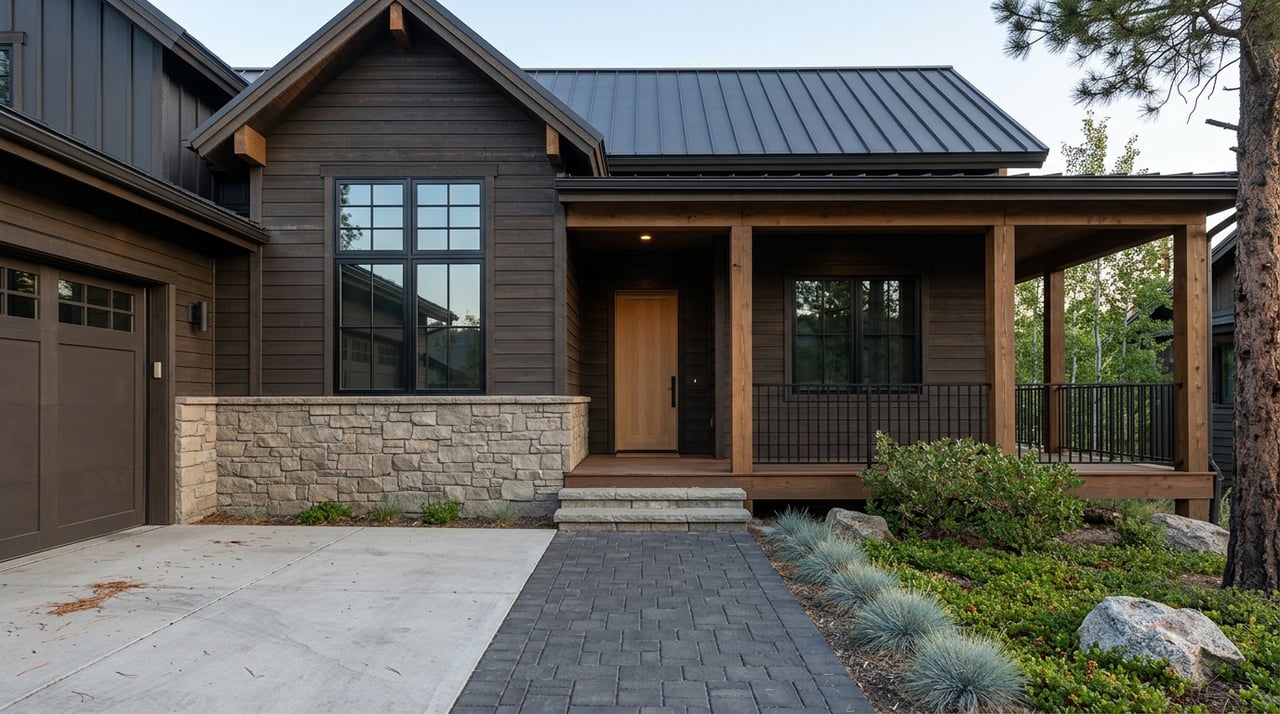
- Roof and attic — Including the roof’s age, visible damage, insulation, and ventilation
- Foundation and structure — Cracks, shifts, drainage, or any settling that could impact integrity
- Plumbing system — Leaks, water pressure, condition of pipes, and proper function of water heaters
- Electrical system — Outlets, wiring, panel condition, and overall electrical safety
- HVAC system — Furnace, air conditioning, and ductwork
- Interior and exterior surfaces — Walls, ceilings, windows, doors, decks, and siding
- Appliances — If any are included with the sale
Inspectors will provide photographs, explanations, and recommendations for further assessment. This clear picture allows you to decide what to fix ahead of listing, what to leave as-is and disclose, and how to price your home accordingly.
Benefits of a Pre-Listing Inspection
There’s a long list of reasons why smart sellers choose to get ahead with a pre-listing inspection. The most immediate benefit is peace of mind, as you’ll know exactly what you’re dealing with before you enter negotiations. Plus, it also brings several key advantages.
First, a pre-listing inspection helps you avoid surprises. Nothing stalls momentum like a buyer discovering an unexpected issue during their due diligence. With your own inspection report in hand, you can handle repairs ahead of time or adjust your listing price to reflect necessary updates.
Second, the inspection builds buyer confidence. When you share the report with prospective buyers, it shows that you’ve taken the initiative and have nothing to hide. That kind of transparency can set your home apart from similar listings and potentially spark multiple offers.
Lastly, it speeds up the selling process. Instead of lengthy back-and-forth negotiations and delayed timelines, buyers walk into the deal fully informed. Fewer surprises mean faster closings, smoother contracts, and less stress for everyone involved.
What Happens During the Inspection
Once you schedule your pre-listing inspection, a licensed home inspector will spend a few hours thoroughly examining your property and its features. You can be present during the inspection, and in fact, many sellers choose to walk through the property with the inspector to understand the findings firsthand.
The inspector will use tools like moisture meters, infrared cameras, ladders, and flashlights to check hard-to-see areas. They'll test outlets, run the water, open access panels, and inspect various components. This isn’t a quick glance — it’s a top-to-bottom review of your home’s condition.
After the inspection, you’ll receive a detailed report, usually within 24–48 hours. This document is incredibly valuable. Not only does it highlight defects or concerns, but it also outlines general maintenance issues you may not have realized needed attention. Think of it as a to-do list that can boost your home’s appeal before listing.
Deciding What to Fix (And What to Disclose)
After you receive the inspection report, the next step is deciding what to do with the information. You don’t need to fix everything, but you should approach this strategically. Focus on repairs that improve the home’s marketability, eliminate deal-breaking issues, or are relatively inexpensive but impactful.
Start by fixing any glaring health or safety concerns, such as electrical hazards, leaking pipes, or loose handrails. Then, consider addressing cosmetic repairs or outdated features that might deter buyers.
Some issues might not be worth fixing. In these cases, full disclosure is key. Your real estate agent will help you weigh the pros and cons of tackling each repair and determine which updates offer the highest return on investment. Together, you can craft a listing strategy that reflects the home’s condition while appealing to motivated buyers.
Achieve Your Selling Goals Today
Ultimately, the pre-listing inspection might seem like an extra step, but it’s actually one of the smartest moves you can make as a home seller. By identifying issues early, you can present your property more confidently, reduce buyer concerns, and avoid unpleasant surprises during escrow. It’s a proactive approach that puts you ahead in a competitive market.
More than just a report, a pre-listing inspection is a roadmap to a smoother, more successful sale. Connect with
Laura Zietz when you’re ready to reach all your home-selling objectives in Winter Park.